THANK YOU!
I will be in touch soon.
janelle joy is a team of private 1-on-1 photo editors to wedding photographers all over the world.
Book A Consult
janelle joy is a team of private 1-on-1 photo editors to wedding photographers all over the world.
Book A Consult
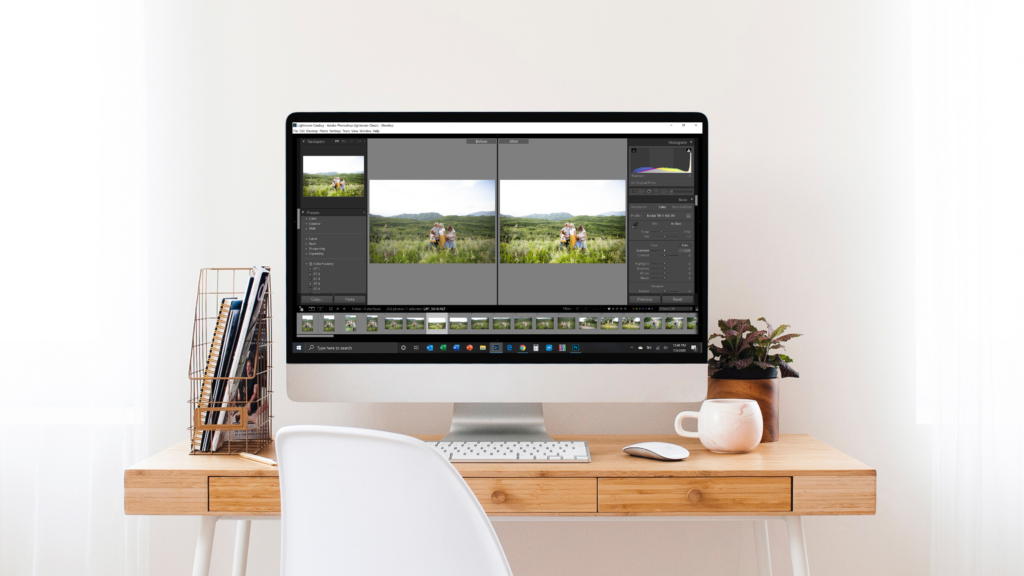
A Lightroom preset and a Lightroom profile are very similar, yet very different. They both work to help you achieve your final editing on your images, HOWEVER, they both go about it differently. Today, we are going to dive into each and I will explain the differences between them, the benefits of each, and hopefully help you decide which may be the best option for you.
Lightroom presets are a premade set of adjustments, within lightroom that has been developed to help you get to a desired look quicker and easier. You can either purchase a preset someone has developed or you can make you own. (If you are sitting here reading this and are thinking, yep, I’ve bought one or several, but it’s still not getting me where I want it to be, then this blog post “bought a preset… now what?” is another good one for you to read through!)
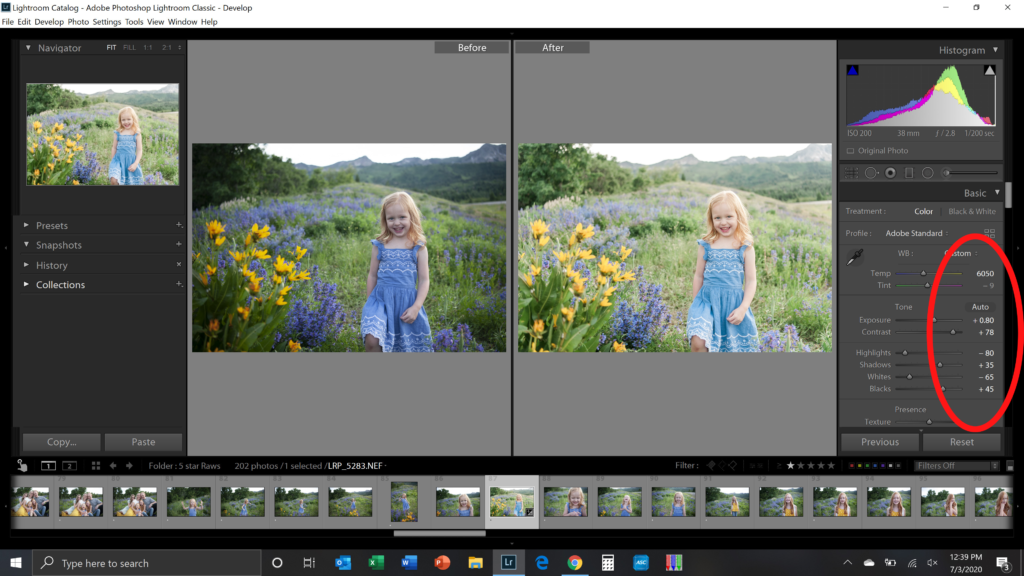
A preset, when applied is going to show you all the adjustments it has done for you over in the adjustment panels. You will be able to see how that preset has adjusted for all of your colors, exposures, split tone, shadows, highlights, etc.. This is really helpful to see because a lot of times a preset isn’t just going to work upon 1 click. The idea is that it’s going to help get you 50-70% of the way there and then you would need to manually adjust the sliders to get you to your final result. The other idea of a preset is after you apply it to your image you will want to make it more your own and help you stand out… more on that later…
Say you applied your preset but instantly you noticed the image was much too bright. Well you can go see what the preset has adjusted as far as your exposures or tone curve goes and adjust it back to your preferred style. It’s easy to see everything the preset has done and what it’s doing to your image because it’s right there in front of you to see.
I find this really helpful when I need to adjust for my colors. I, personally, have a specific color look that I go for, especially my greens. If the preset isn’t getting the right color undertones for me, I can go in and see why and adjust from there.
Now the downside to having the preset use my adjustment sliders is that it can limit how much more I can push those sliders.
Say I need to really bump up my shadows or my blacks, but when I apply the preset of choice to my image and it’s already used up most of my slider range, it limits me. That can be really frustrating.
Another example I’ve come across that can be a limitation with presets is split toning. If the preset has a set split tone already in the preset, I can no longer use it without changing the look of the image and possibly not being able to achieve what I want. You can only apply 1 split tone to your image and if your preset has used it, and you try to change it, you may not like the outcome. Yep, frustrating!
Presets really are amazing, and even if you don’t purchase one, you should, at the very least, make your own with the same adjustments you do almost every time to your images. This is so that you can speed up your workflow and stop wasting your valuable time behind the computer.
Profiles are very similar to presets, except that when you apply them it’s doing the “work” in the background in the form of a camera profile.
Camera manufacturers build profiles into their camera models to process photos in specific ways. When you shoot in RAW and view it on the back of your LCD screen you are seeing the camera manufacturers built in profile. When you then load the raw images into lightroom it translates the raw image data according to its own formulas. Lightoom sees only the raw data, not the profile, so you end up with a default processed version; usually the profile of adobe standard. If you wanted to keep the same look as what your camera profile looks like, then you would need to have that profile loaded into lightroom and set as your “standard” instead of adobe’s profiles.
Now, I’ll be honest with you, I’ve never ever applied my camera’s profile to my images. This has never been the look I was looking for. If I was using a preset, adobe standard or adobe color worked just great. So, don’t feel like you need to run out and download your camera’s profile to achieve the correct look.

Profiles, a lot of times, have been created to help mimic the look of film. A lot of my hybrid clients use profiles to help them match their film to digital. So this is a great place to start if you are a hybrid shooter and looking to match film. Yes, there are presets who do really well with this too. So, ultimately it’s finding the one that works best for you and helps you achieve your match quicker and more efficiently! It’s all about saving time, right?!
Now, I do not personally shoot hybrid, but I do love profiles and the look they give to my images. So don’t discount them if you don’t shoot film, because they are awesome all on their own!
With profiles the really great advantage to having them is that they apply a beautiful base look to your image and then you now have free range of all of your sliders to use. So, you know that issue I talked about above with presets maxing out your sliders? You will not have this issue at all with profiles. If you need to pull your blacks way up, you can. You need total use of your split tone, you can. You want total use of the HSL panel, it’s all yours…. I’m sure you get the picture.
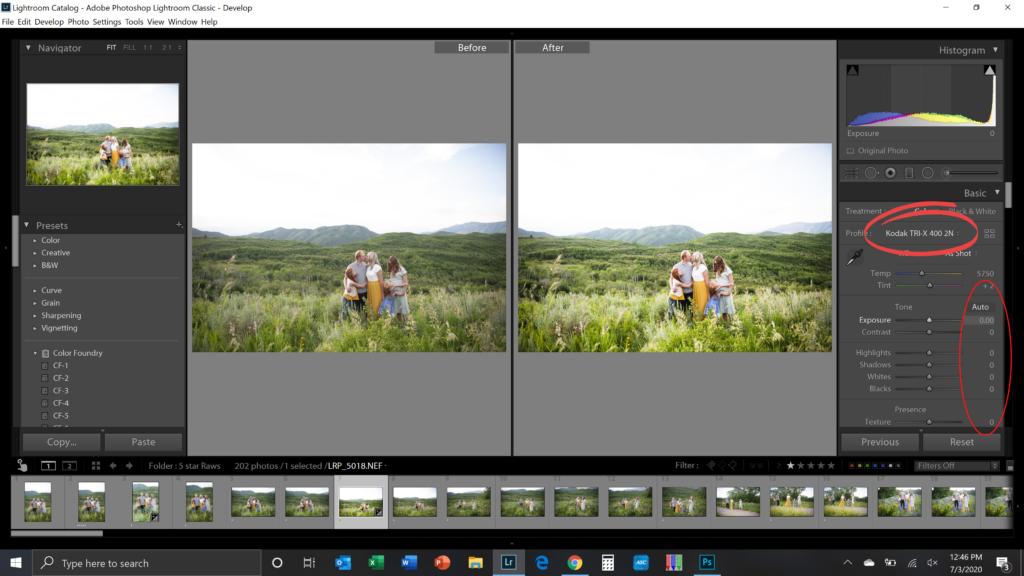
Now for the downside to profiles… you can’t see what the profile is adjusting. Yep, what could be viewed as an advantage can also be a downside. Although the full use of sliders is really nice, it can also be hard to adjust what you don’t love in the profile without having to play around with a bunch of different adjustments to “counteract” what the profile is doing.
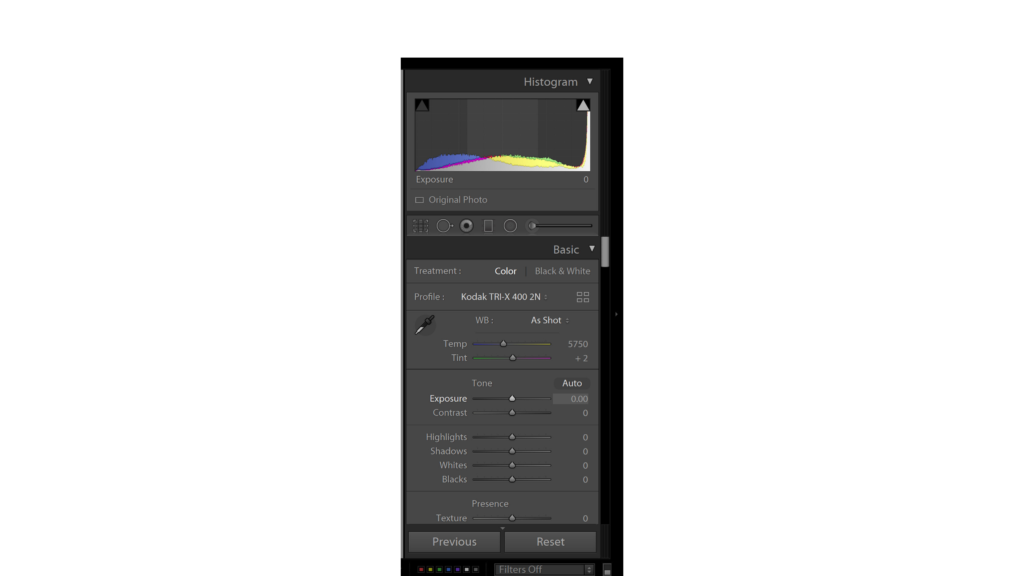
Another downside is, if you aren’t familiar with Lightroom and understand where to go to make the adjustments you want, you will most likely end up frustrated with it. You will throw the towel in before you achieve what you want and feel like you failed. So, my biggest advice to you would be to really get to know and learn lightroom. It will aid you and be your superpower when you go to edit your images.
I recommend both. Super helpful right? *face palm* No, really, I would say that each person is different. Each person has their own editing style. One editing style would lend itself better to a preset, while another would be to a profile. I personally use both, but lean more heavily on the preset side. However, if you are still trying to figure out lightroom and trying to nail down your own editing style, then I would stick with a preset for now. This is because you can really study what the preset is doing to your image and start to understand what lightroom can do and how the adjustments are working.
I will be in touch soon.